
Create Scheduler
Create Scheduler
1. On the Configuration screen, click Scheduler. Refer to the following screen.
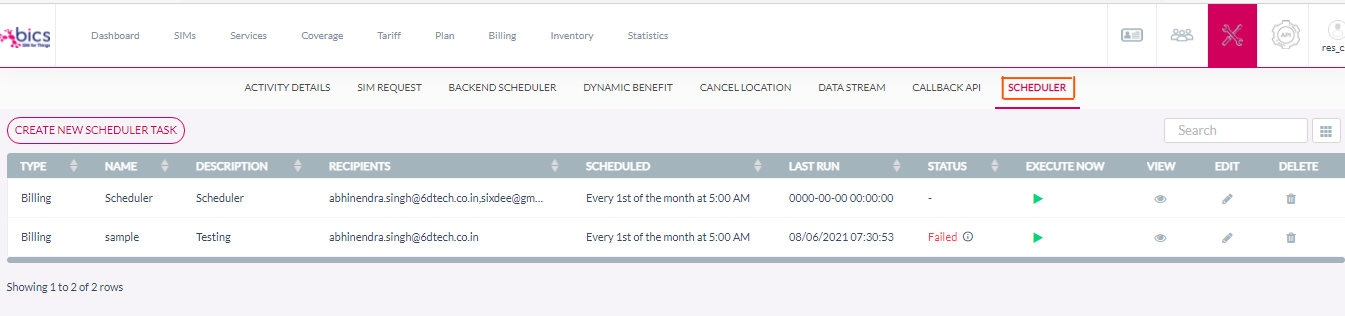
Figure 1 Scheduler
2. On the Scheduler screen, click Create New Scheduler Task. Refer to the following screen.
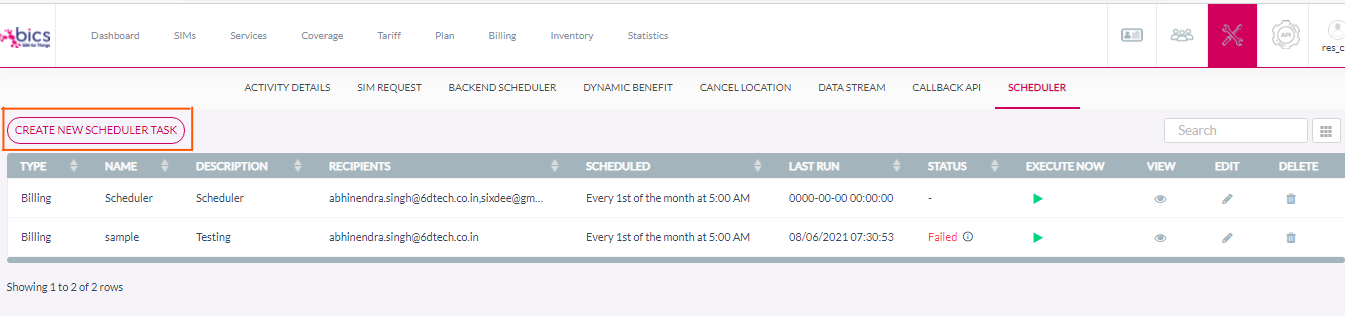
Figure 2 Create new scheduler task
3. After clicking the button, the Create New Scheduler Task screen is displayed.
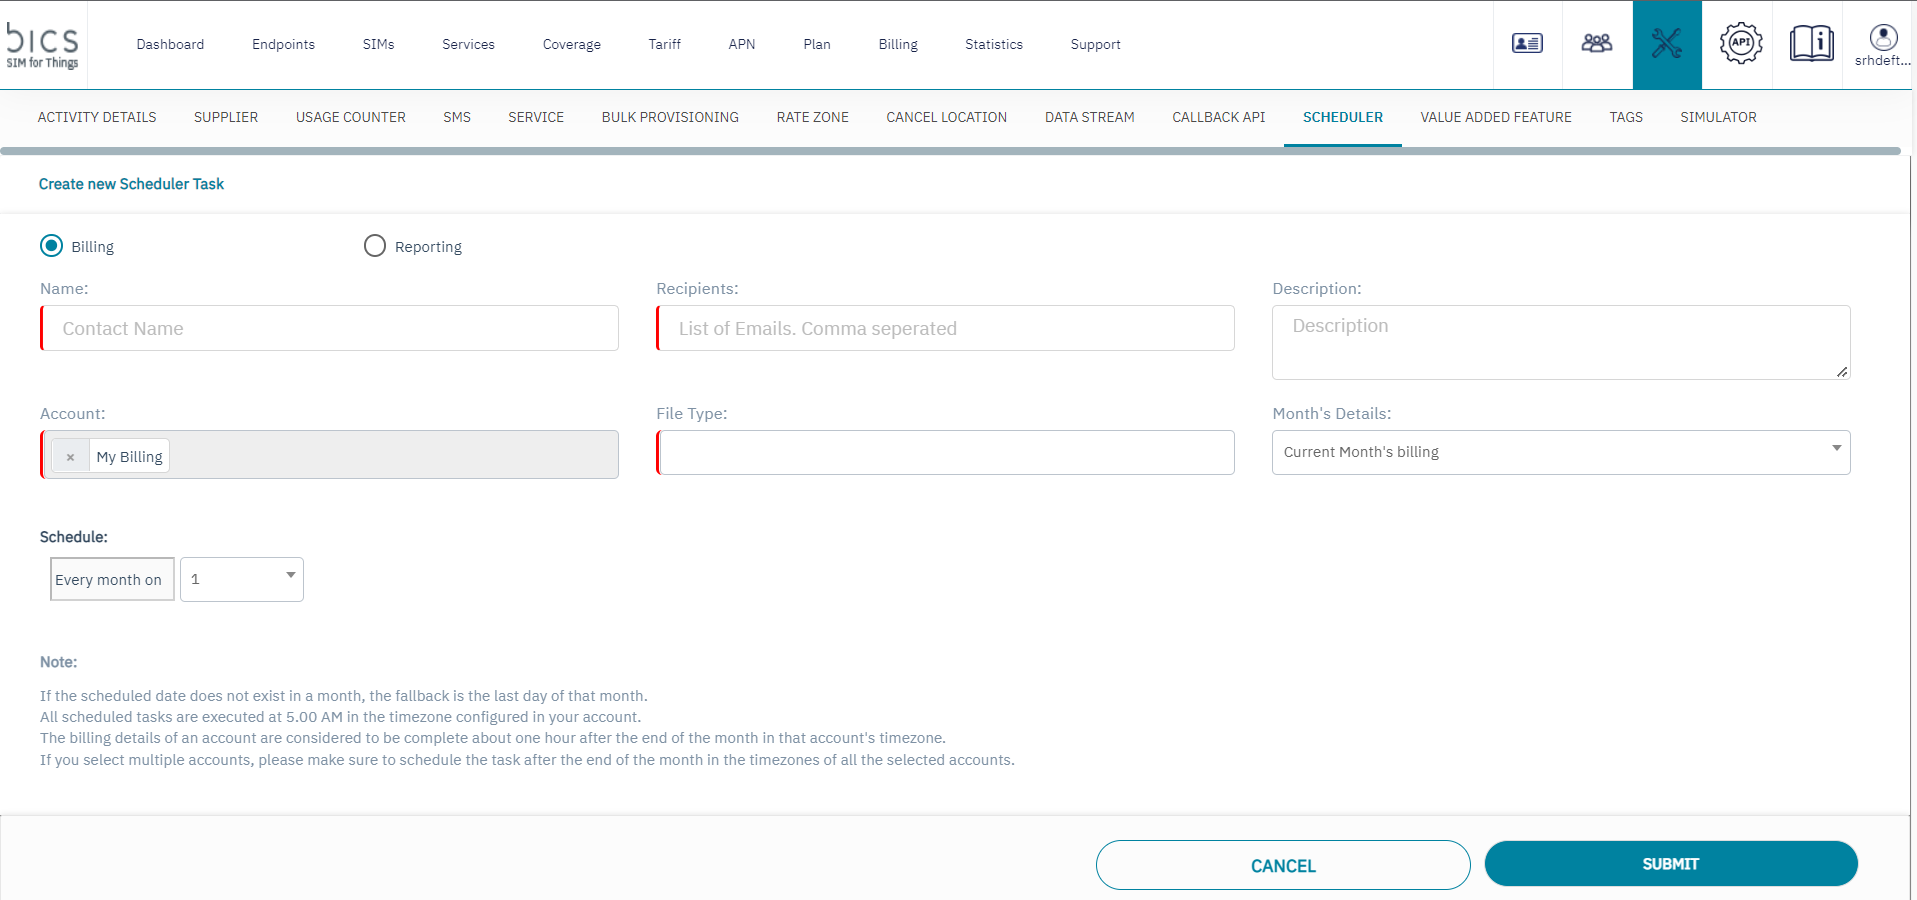
Figure 3 Create new scheduler task (Billing)
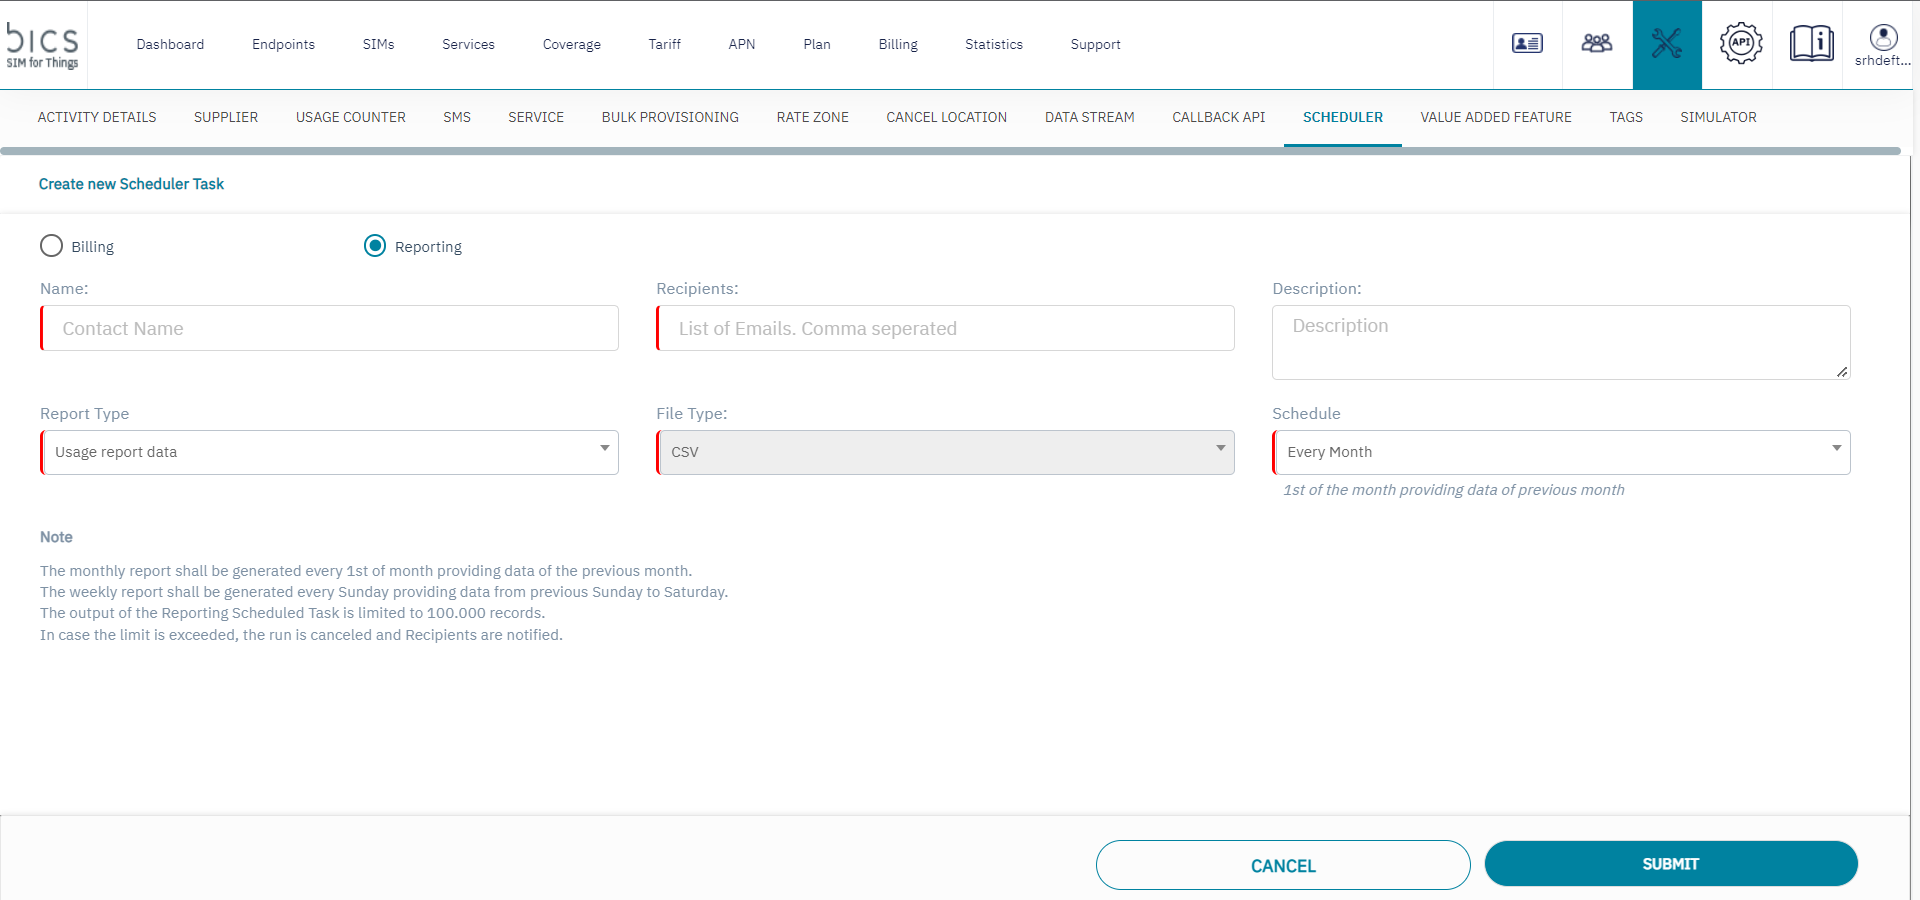
Figure 4 Create New Scheduler Task (Reporting)
4. Enter or select the following information in the corresponding fields.
Field | Description |
|---|---|
Name | Indicates the name of the scheduler. |
Recipients | We can add multiple Recipient with Comma-separated. |
Description | Enter the brief description of the scheduler. |
Account | Account field will come pre-selected with 'my billing' option. |
File Type (Billing) | Single-selection is minimum requirement, we can select multiple file as well. .PDF (combined file) .PDF (multiple file) .CSV |
Months Details | Choice between Current Month and Previous Month (at the time of the scheduled run). |
Schedule (Billing) | Option to configure every <xth> day of each month - timing will be 5:00 AM customer time zone, if scheduled date does not exist in a month, the fallback is last day of that month. |
Report Type | Options to select the report type according to our requirement.
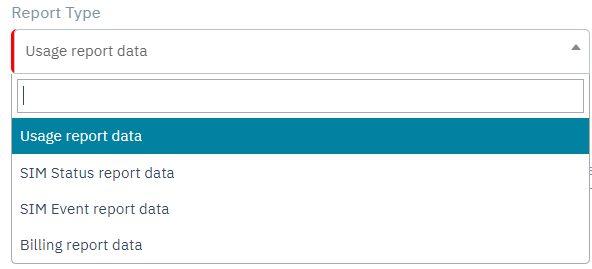 |
File Type (Reporting) | File type is .csv format. |
Schedule (Reporting) | Options to select the report scheduling as per our requirement.
|
The output of the Reporting Scheduled Task is limited to 1.400.000 records. In case the limit is exceeded, the run is cancelled and the recipient is notified. This limit can be reached fast for usage report data!
5. If you click Submit without entering the mandatory fields for Benefit, the following error message is displayed.
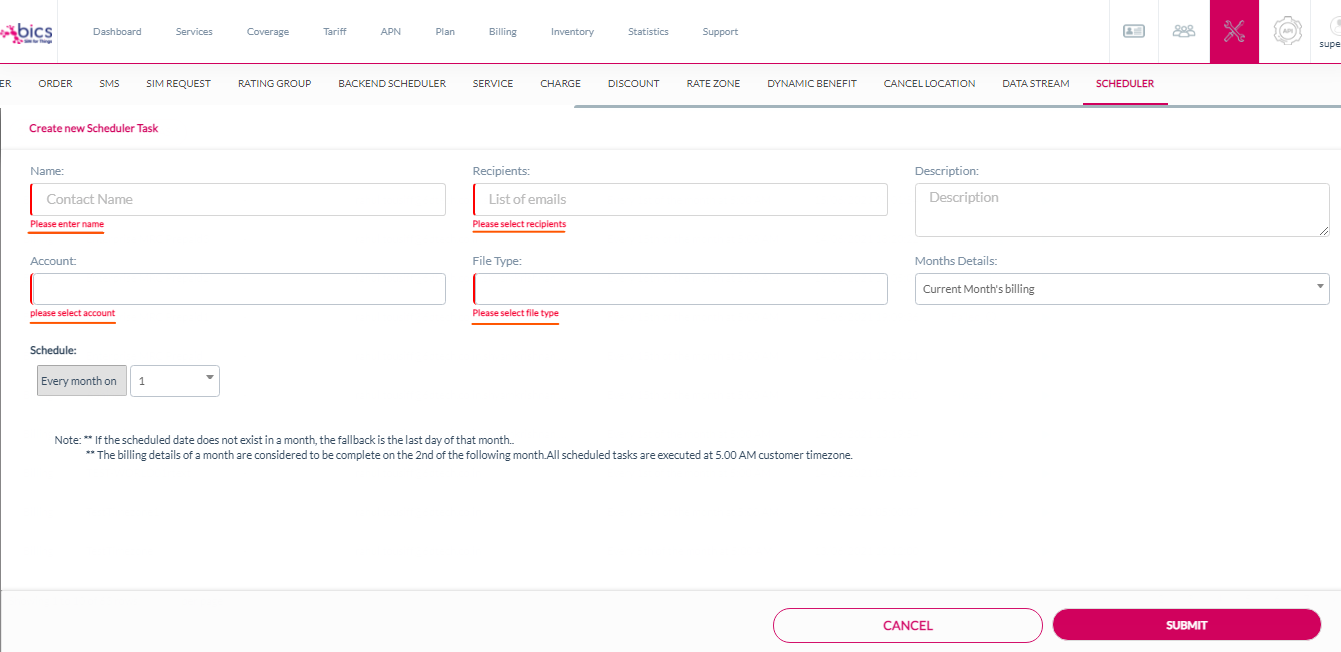
Figure 5 Error message
6. Click Submit to create a Scheduler.
7. A confirmation message is displayed, indicating the scheduler is created successfully.
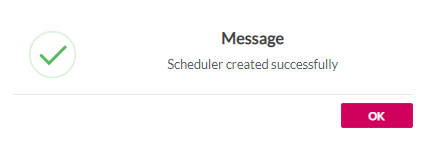
Figure 6 Confirmation Message