
How do I manage changes to my coverage when networks are automatically added or removed?
For Enterprise Customers:
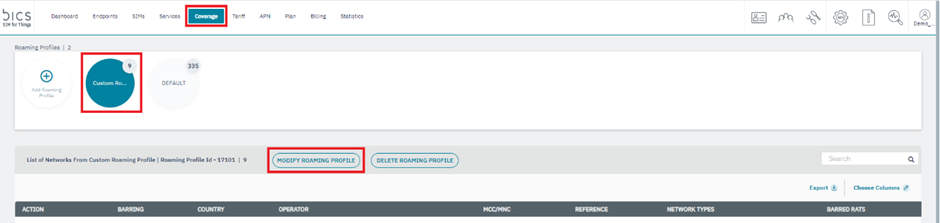
When a new network is added, it will automatically become available in your account’s default roaming profile. However, if you are using custom roaming profiles or custom rate-zones, you will need to manually add this new network to those profiles.
For Roaming Profiles: Navigate to your account portal and add the network to the relevant roaming profiles.
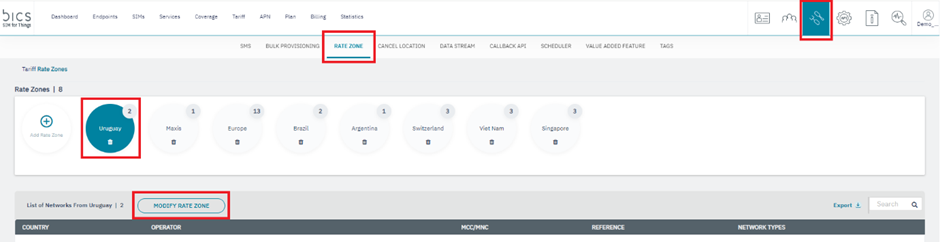
For Rate-Zones:
Ensure the new network is included in the appropriate rate-zone for billing.
When a network is removed from your coverage, it will automatically be removed from all roaming profiles and rate-zones. It is essential to review your profiles in advance to ensure the removed network is not the sole network for any of your roaming profiles or rate-zones, particularly in specific countries. If necessary, add alternative networks to maintain coverage.
For Reseller Customers:
When a new network is added, it will automatically become available in your account’s default destination group. However, to ensure your customers benefit from the new network, you must add it to their destination groups.
For Destination Groups:
Add the network to the relevant customer destination groups.

Additionally, verify that the network has a charge assigned. You can do this by adding the network to an existing rate-zone or creating a new tariff to cover the required services (SMS, data, and/or NB-IoT).
When a network is removed, it will automatically be removed from all destination groups in your reseller account. Make sure your customers maintain coverage in affected countries by checking and adding alternative networks where necessary.