
View Scheduler
View Scheduler
On the top menu, click
to view the settings menu. Refer to the following screen.
Figure 1 Configurations
2. On the Configuration screen, click Scheduler. Refer to the following screen.

Figure 2 Tools
3. The following scheduler details are displayed on the screen.
Field | Description |
|---|---|
Type | Task Type for scheduled task. |
Name | Indicates the name of the scheduler. |
Description | Enter the brief description of the scheduler. |
Recipients | We can add multiple Recipient with Comma-separated. |
Scheduled | Option to configure every <xth> day of each month - timing will be 5:00 AM customer time zone, if scheduled date does not exist in a month, the fallback is last day of that month. |
Last run | Timestamp. |
Status | Indicate status of scheduler (processing, success, failure). |
Execute now | Execute  button. |
View | Click  to view the scheduler details. |
Edit | Click  to edit the scheduler details. |
Delete | Click  to delete the scheduler. |
Scheduler Task Reporting (Execution):
The Scheduler automatically executes on every 1st day of Month providing the data of the previous month.
It also executes automatically on every Sunday providing the data from previous Sunday to Saturday.
The report is send to the recipients through E-mail.
Execute now button is used to execute the scheduler regardless of the time which was set.
4. On the Scheduler screen, click on View
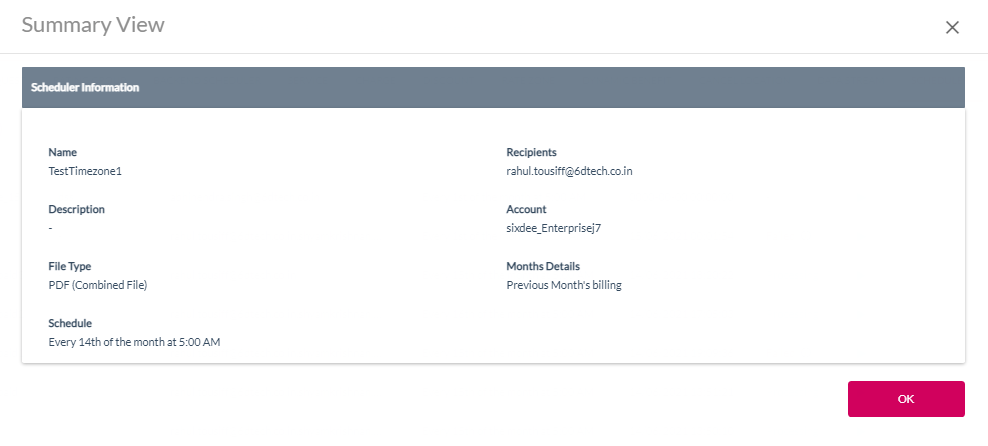
Figure 3 Summary view (Billing)
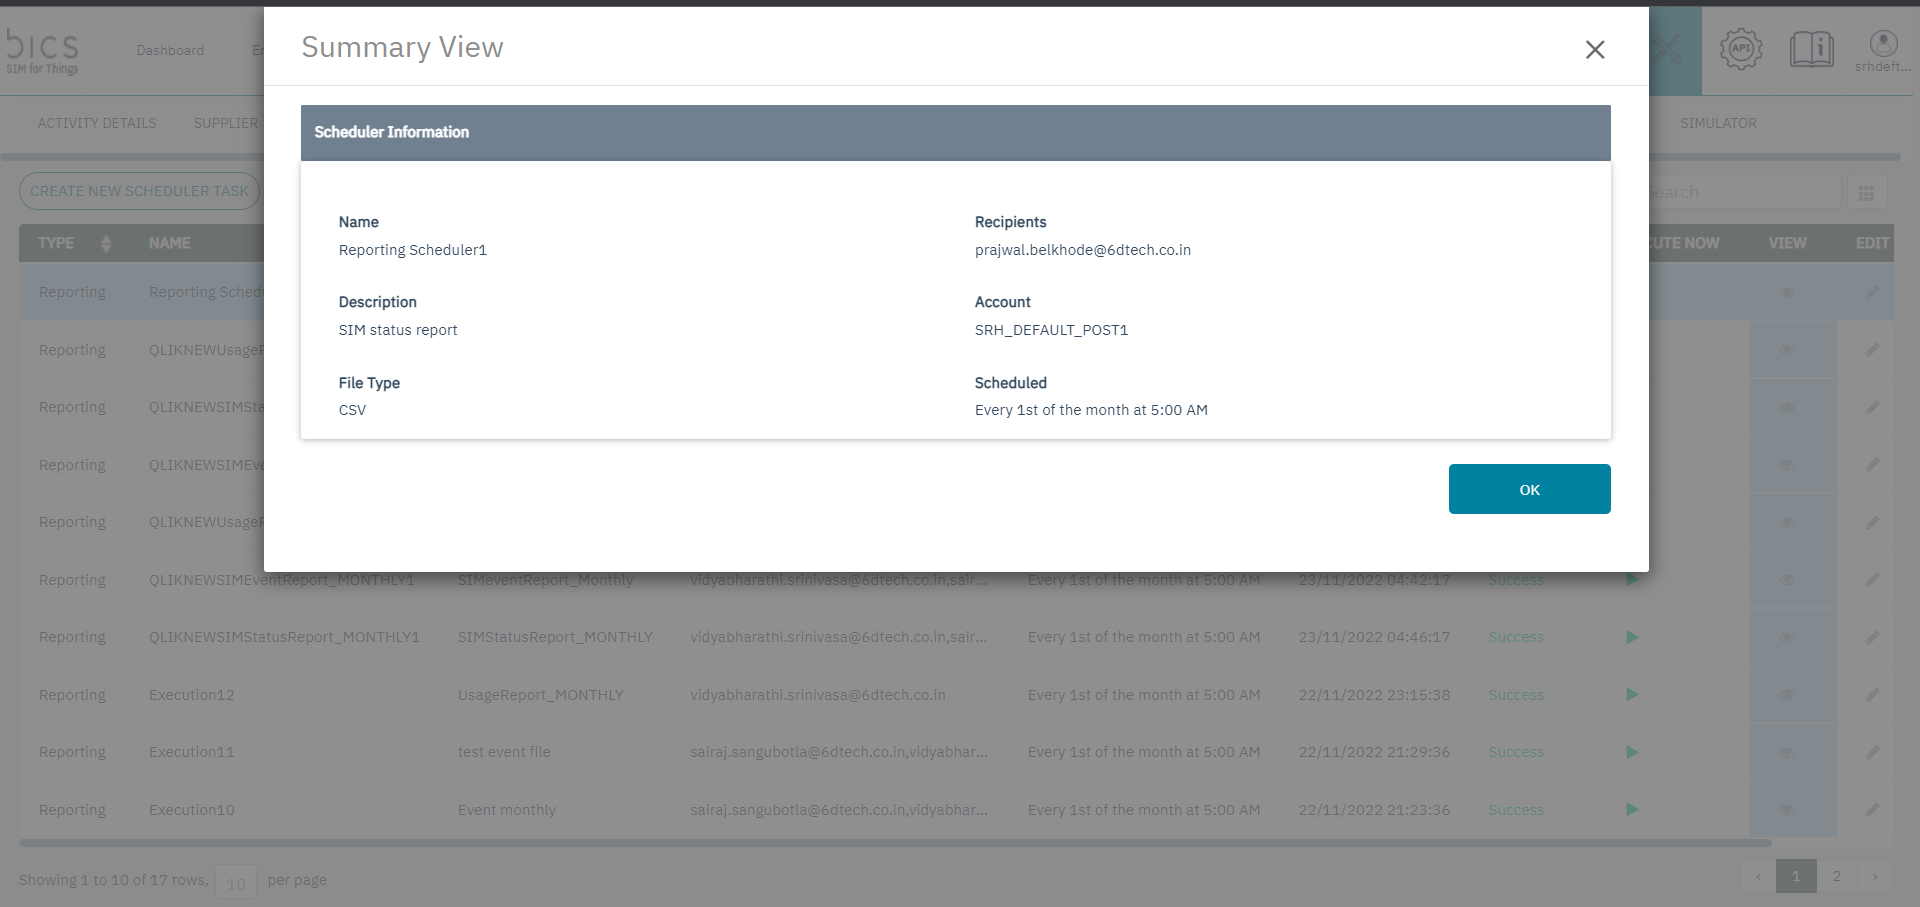
Figure 4 Summary view (Reporting)