
Create TAGs
Create Tags
1. After a successful login, the enterprise dashboard is displayed.
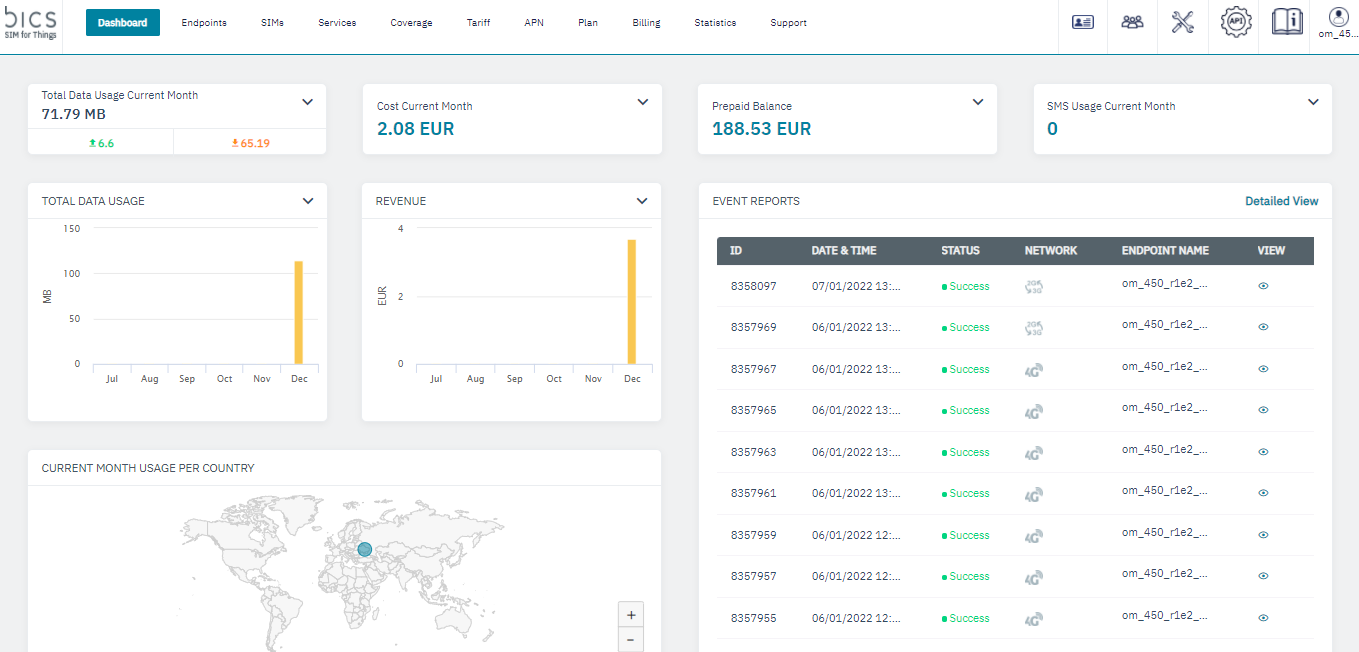
Figure 1 Dashboard
2. On the top menu, click

to view the settings menu. Refer to the following screen.
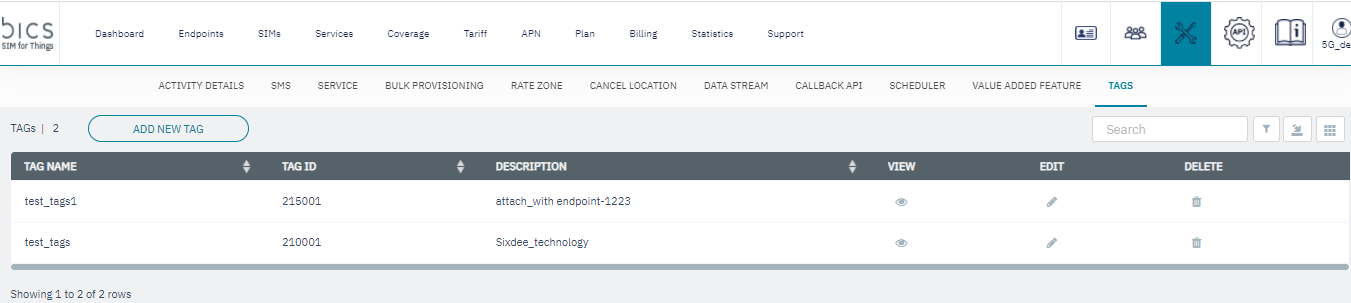
Figure 2 TAGS
3. Click Add New Tags to create a tags . Refer to the following screen.
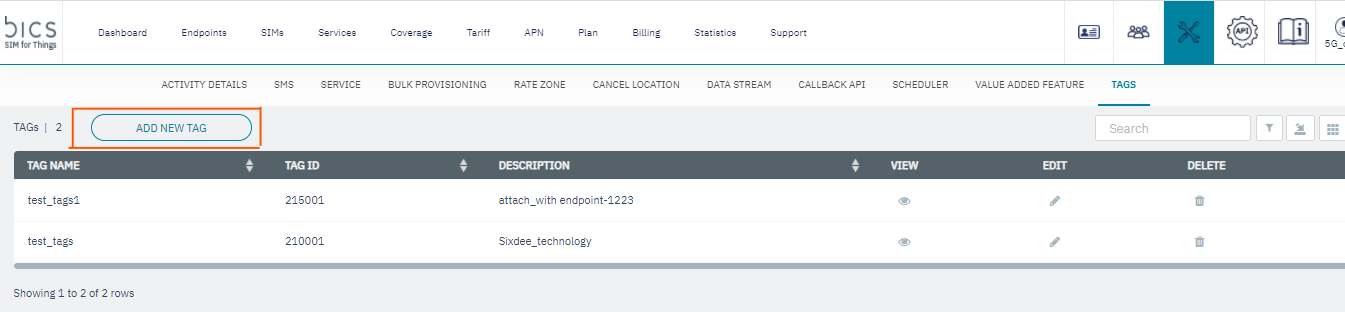
Figure 3 Create TAGS
4. After clicking the button, the Add New Tags screen is displayed
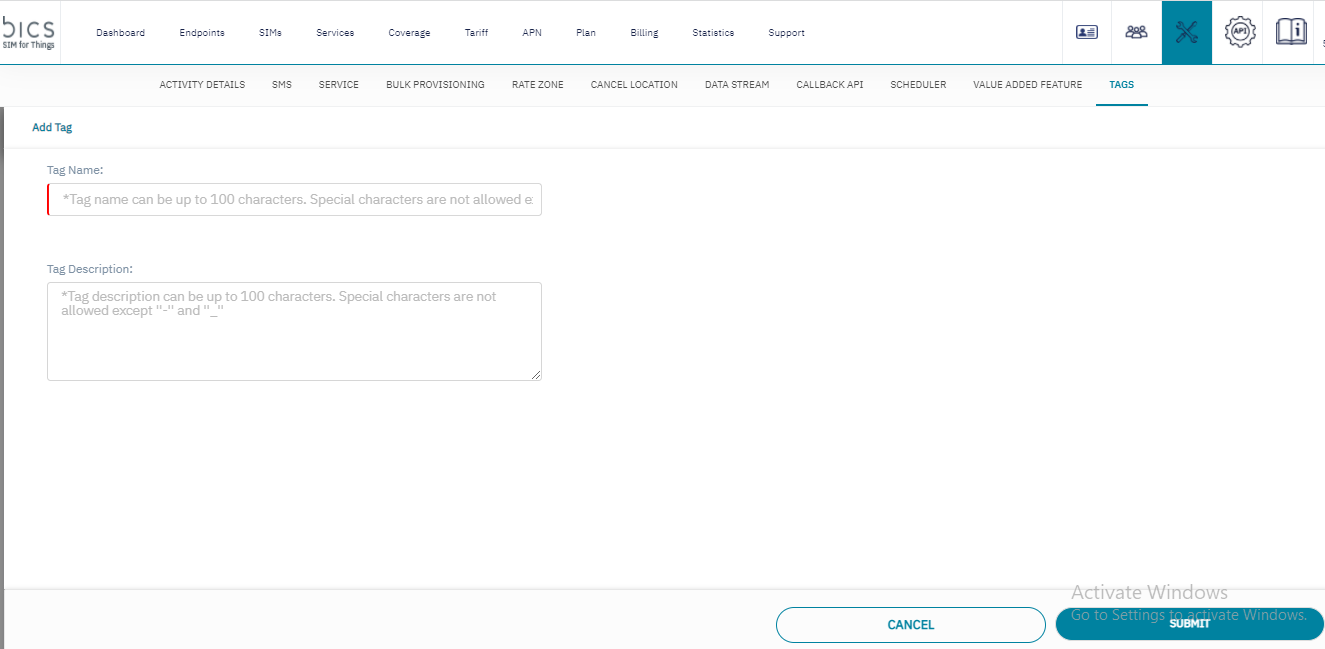
Figure 4 Add New TAGS
Enter or select the following details in the corresponding fields. Fields marked with "|" are mandatory
Field | Description |
|---|---|
Tag Name | This will indicate the name of the Endpoint Tags. Note:- in Tag Name we can maximum 100 characters and special characters not allowed except hyphen “-“ and underscore “_“. |
Description | Here, the user will describe the Endpoint Tags. Note:- in Description we can maximum 100 characters and special characters not allowed except hyphen “-“ and underscore “_“. |
TAG name should be unique per account Multiple accounts can have same tag names.
Maximum number of TAGs that a user can define would be 20 in a Account.
After entering the details, click Submit.
A confirmation message is displayed, indicating endpoint Tags is created successfully.
Figure 5 Confirmation message
5. If you click
Submit without entering Tags details, the following notification is displayed below the empty fields on the Add New Tag screen.
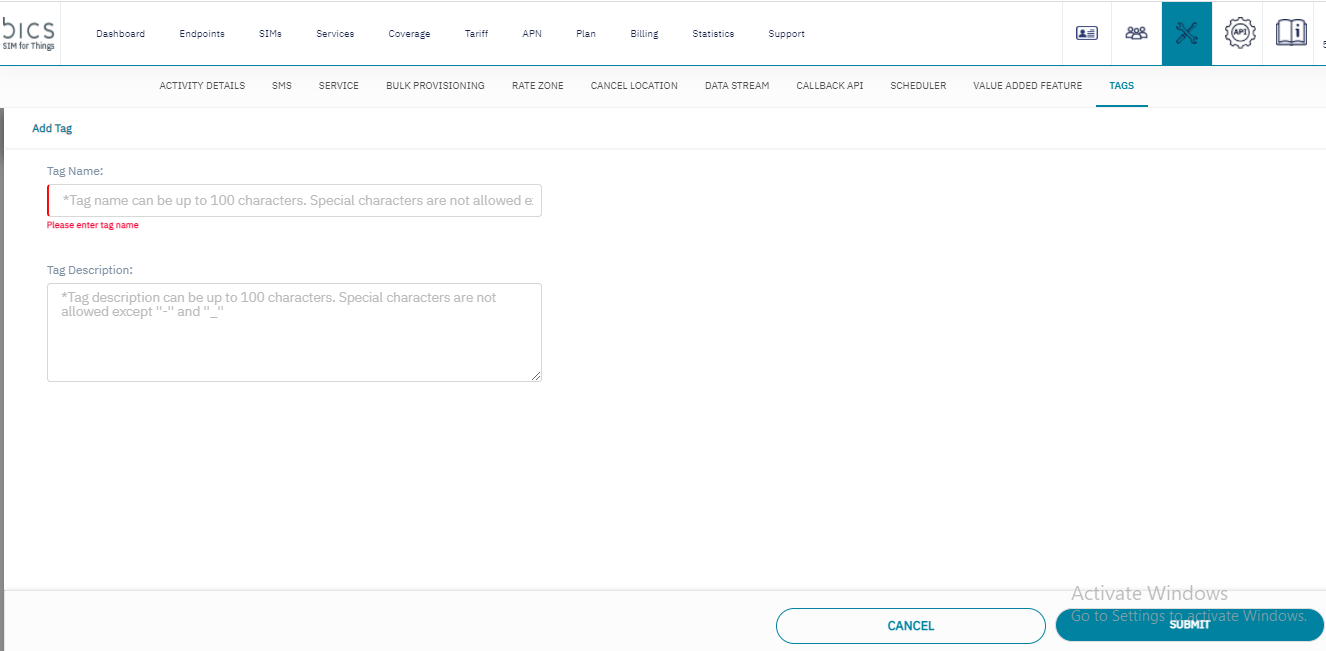
Figure 6 Error message